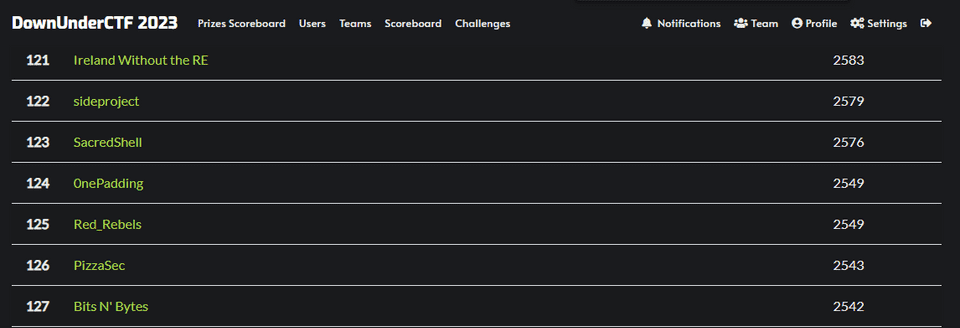
9/1 から開催されていた DUCTF 2023 に 0nePadding で参加し、124 位 / 1424 チームでした。
いつも通り Rev をいくつか解いたので、Writeup を書きます。
もくじ
the bridgekeepers 3rd question(Rev)
What is your name? What is your quest? What is your favourite colour?
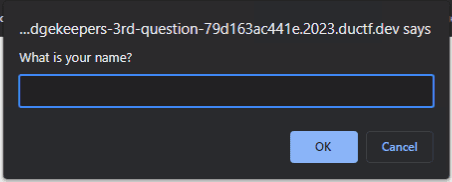
問題サイトをブラウザで開き、画面をクリックすると、以下のようなプロンプトが表示されます。
HTML ソースを見てみると、以下のスクリプトが埋まっていました。
<script id="challenge" src="text/javascript">
  function cross() {
    prompt("What is your name?");
    prompt("What is your quest?");
    answer = prompt("What is your favourite colour?");
    if (answer == "blue") {
      document.getElementById('word').innerText = "flag is DUCTF{" + answer + "}";
      cross = escape;
    }
    else {
      document.getElementById('word').innerText = "you have been cast into the gorge";
      cross = unescape;
    }
  }
</script>
prompt("What is your favourite colour?"); の入力に blue と入力すると正しい Flag が取れるようですが、単に blue と入力しても Flag の取得には至りません。
これは、別の javascript で以下のように prompt の処理がオーバライドされているためのようです。
prompt = function (fun, x) {
  let answer = fun(x);
  if (!/^[a-z]{13}$/.exec(answer)) return "";
  let a = [], b = [], c = [], d = [], e = [], f = [], g = [], h = [], i = [], j = [], k = [], l = [], m = [];
  let n = "blue";
  a.push(a, a, a, a, a, a, a, a, a, a, a, a, a, a, a, a, a, b, a, a, a, a, a, a, a, a);
  b.push(b, b, b, b, c, b, a, a, b, b, a, b, a, b, a, a, b, a, b, a, a, b, a, b, a, b);
  c.push(a, d, b, c, a, a, a, c, b, b, b, a, b, c, a, b, b, a, c, c, b, a, b, a, c, c);
  d.push(c, d, c, c, e, d, d, c, c, c, c, b, c, c, d, c, b, d, a, d, c, c, c, a, d, c);
  e.push(a, e, f, c, d, e, a, e, c, d, c, c, c, d, a, e, b, b, a, d, c, e, b, b, a, a);
  f.push(f, d, g, e, d, e, d, c, b, f, f, f, a, f, e, f, f, d, a, b, b, b, f, f, a, f);
  g.push(h, a, c, c, g, c, b, a, g, e, e, c, g, e, g, g, b, d, b, b, c, c, d, e, b, f);
  h.push(c, d, a, e, c, b, f, c, a, e, a, b, a, g, e, i, g, e, g, h, d, b, a, e, c, b);
  i.push(h, a, d, b, d, c, d, b, f, a, b, b, i, d, g, a, a, a, h, i, j, c, e, f, d, d);
  j.push(b, f, c, f, i, c, b, b, c, j, i, e, e, j, g, j, c, k, c, i, h, g, g, g, a, d);
  k.push(i, k, c, h, h, j, c, e, a, f, f, h, e, g, c, l, c, a, e, f, d, c, f, f, a, h);
  l.push(j, k, j, a, a, i, i, c, d, c, a, m, a, g, f, j, j, k, d, g, l, f, i, b, f, l);
  m.push(c, c, e, g, n, a, g, k, m, a, h, h, l, d, d, g, b, h, d, h, e, l, k, h, k, f);

  walk = a;
  for (let c of answer) {
    walk = walk[c.charCodeAt() - 97];
  }
  if (walk != "blue") return "";
  return {toString: () => _ = window._ ? answer : "blue"};
}.bind(null, prompt);

eval(document.getElementById('challenge').innerText);
コードを読んだ結果、最終的に walk に n が格納された状態を作れば answer に blue が格納され、Flag 取得に至れるようです。
以下のように、walk の先頭が a から順に n までインデックスを探索していくことで、最後に walk に n が格納されることがわかります。
walk = a;
for (let c of answer) {
    walk = walk[c.charCodeAt() - 97];
}
そこで、以下の Solver を作成して、Flag を取得するために必要な文字列が rebeccapurple であると特定できました。
a = ["a","a","a","a","a","a","a","a","a","a","a","a","a","a","a","a","a","b","a","a","a","a","a","a","a","a"]
b = ["b","b","b","b","c","b","a","a","b","b","a","b","a","b","a","a","b","a","b","a","a","b","a","b","a","b"]
c = ["a","d","b","c","a","a","a","c","b","b","b","a","b","c","a","b","b","a","c","c","b","a","b","a","c","c"]
d = ["c","d","c","c","e","d","d","c","c","c","c","b","c","c","d","c","b","d","a","d","c","c","c","a","d","c"]
e = ["a","e","f","c","d","e","a","e","c","d","c","c","c","d","a","e","b","b","a","d","c","e","b","b","a","a"]
f = ["f","d","g","e","d","e","d","c","b","f","f","f","a","f","e","f","f","d","a","b","b","b","f","f","a","f"]
g = ["h","a","c","c","g","c","b","a","g","e","e","c","g","e","g","g","b","d","b","b","c","c","d","e","b","f"]
h = ["c","d","a","e","c","b","f","c","a","e","a","b","a","g","e","i","g","e","g","h","d","b","a","e","c","b"]
i = ["h","a","d","b","d","c","d","b","f","a","b","b","i","d","g","a","a","a","h","i","j","c","e","f","d","d"]
j = ["b","f","c","f","i","c","b","b","c","j","i","e","e","j","g","j","c","k","c","i","h","g","g","g","a","d"]
k = ["i","k","c","h","h","j","c","e","a","f","f","h","e","g","c","l","c","a","e","f","d","c","f","f","a","h"]
l = ["j","k","j","a","a","i","i","c","d","c","a","m","a","g","f","j","j","k","d","g","l","f","i","b","f","l"]
m = ["c","c","e","g","n","a","g","k","m","a","h","h","l","d","d","g","b","h","d","h","e","l","k","h","k","f"]

print(chr(a.index("b") + 97),end="")
print(chr(b.index("c") + 97),end="")
print(chr(c.index("d") + 97),end="")
print(chr(d.index("e") + 97),end="")
print(chr(e.index("f") + 97),end="")
print(chr(f.index("g") + 97),end="")
print(chr(g.index("h") + 97),end="")
print(chr(h.index("i") + 97),end="")
print(chr(i.index("j") + 97),end="")
print(chr(j.index("k") + 97),end="")
print(chr(k.index("l") + 97),end="")
print(chr(l.index("m") + 97),end="")
print(chr(m.index("n") + 97),end="")

# rebeccapurple
# DUCTF{rebeccapurple}
All Father’s Wisdom(Rev)
We found this binary in the backroom, its been marked as “The All Fathers Wisdom” - See hex for further details. Not sure if its just old and hex should be text, or they mean the literal hex.
Anyway can you get this ‘wisdom’ out of the binary for us?
問題バイナリとして与えられた ELF ファイルを実行しようとしたものの、何も表示されずにプログラムが終了しました。
Ghidra で解析すると、Flag を出力する処理の前に exit() 関数が配置されていたため、NOP にパッチした結果 Flag を取得できました。
44 55 43 54 46 7b 4f 64 31 6e 5f 31 53 2d 4e 30 74 5f 43 7d
# DUCTF{Od1n_1S-N0t_C}
pyny(Rev)
I’ve never seen a Python program like this before.
問題バイナリとして与えられた以下の Python コードですが、punycode でエンコードされた Pyton スクリプトであることがわかりました。
#coding: punycode
def _(): pass
('Correct!' if ('Enter the flag: ') == 'DUCTF{%s}' % _.____ else 'Wrong!')-gdd7dd23l3by980a4baunja1d4ukc3a3e39172b4sagce87ciajq2bi5atq4b9b3a3cy0gqa9019gtar0ck
Punycode は日本語ドメインなどに使用されるエンコード方法で、ASCII 文字列を先頭に置いた後、Unicode 文字を位置と文字種を示す ASCII コードに変換した文字列を - の後ろに付けるエンコード方法です。
つまり、上記の Python スクリプトでは前半の Python コードの適切な位置に -gdd7dd23l3by980a4baunja1d4ukc3a3e39172b4sagce87ciajq2bi5atq4b9b3a3cy0gqa9019gtar0ck で定義されている Unicode 文字が挿入されることで実行可能なスクリプトが完成するようです。
シンプルに Python スクリプトをデバッグすれば簡単に Flag を特定できそうですが、Punycode のデコード時のオフセットがずれるせいか、起動時のデバッグがエラーになるようでした。
そこで、gdb の Python デバッグ用プラグインを以下のコマンドでインストールして、gdb を使用してデバッグを行うことにしました。
sudo apt install python3-dbg参考:DebuggingWithGdb - Python Wiki
参考:Features/EasierPythonDebugging - Fedora Project Wiki
スクリプト実行後の Heap 領域から文字列を抽出すると、ᵖʸᵗʰºⁿ_ʷªʳᵐᵘᵖ.__ⁿªᵐᵉ__の値が Flag になることがわかります。
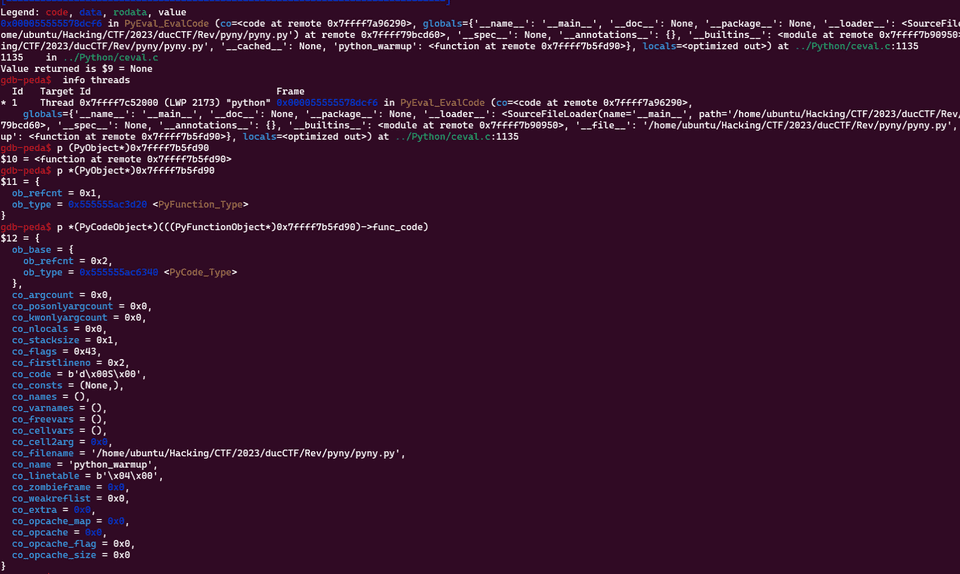
そのため、適当な位置まで処理を進めた後に info threads コマンドで python_warmup 関数のアドレスを特定し、以下のコマンドで情報を出力しました。
p *(PyCodeObject*)(((PyFunctionObject*)0x7ffff7b5fd90)->func_code)その結果、以下の通り正しい Flag が DUCTF{python_warmup} になることがわかりました。
SPACEGAME(Rev)
ALL YOUR BASE ARE BELONG TO US. YOU ARE ON THE WAY TO DESTRUCTION.
問題バイナリとして与えられた EXE を起動すると、以下のようなインベーダーゲームが起動します。
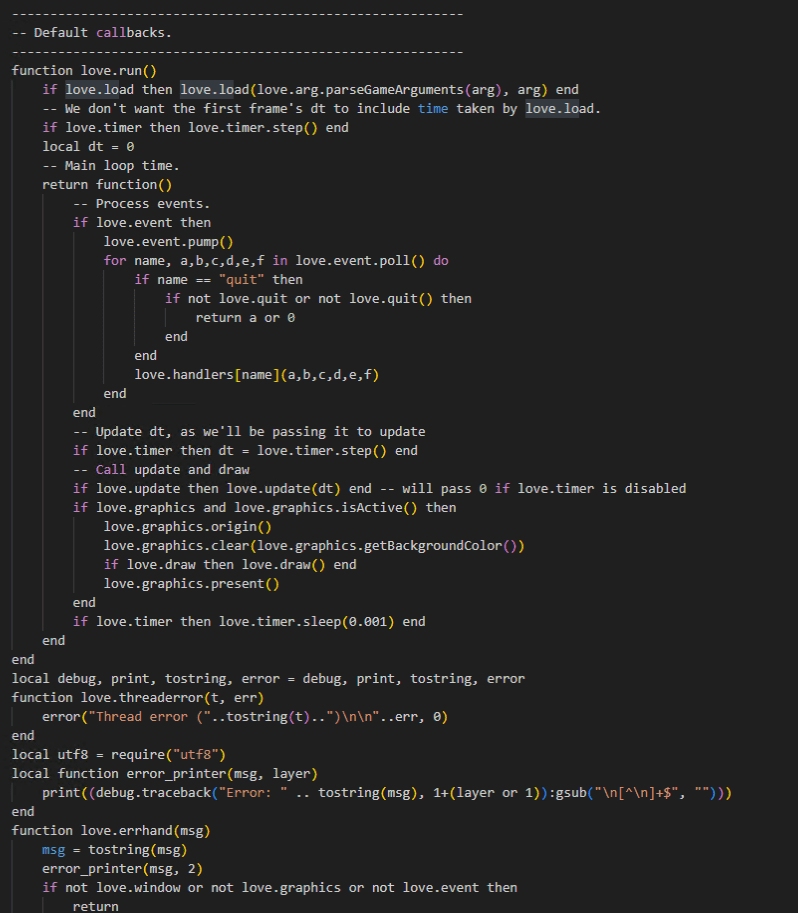
lua スクリプトがパッキングされた love.dll からスクリプトを抽出すると、以下のようなコードを取得できました。
love.dll 内のスクリプトを一通り参照したものの Flag の取得に繋がりそうな情報はありませんでしたが、love.dll 内で見つけた conf.lua が love.dll 内に存在していないことがわかりました。
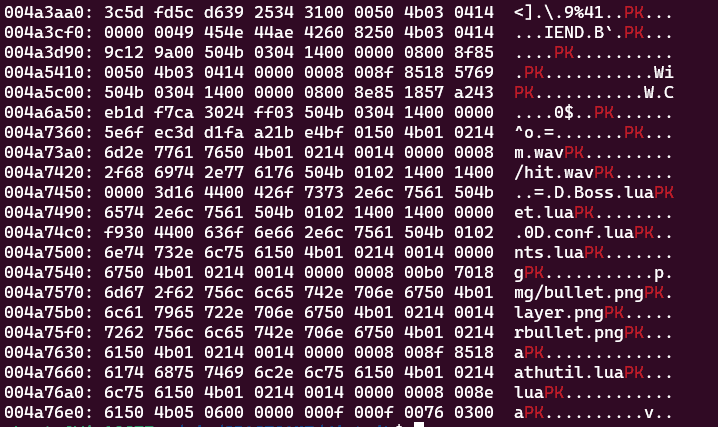
そこで、問題バイナリの EXE のバイナリを解析してみると、以下のように(おそらく)暗号化 ZIP された conf.lua が埋め込まれていそうなことがわかります。
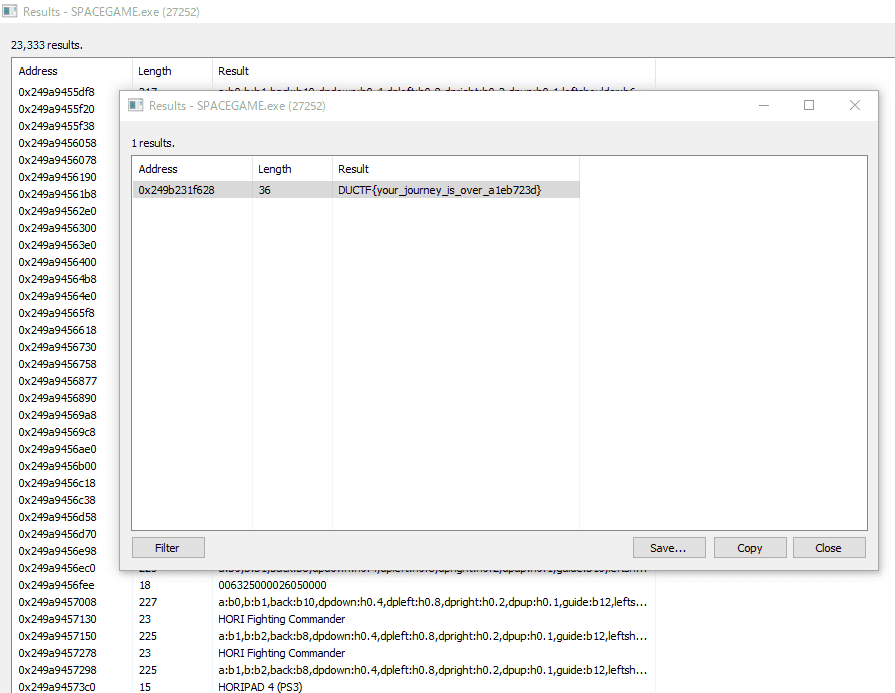
これらは実行時にメモリ内で展開されることがわかるので、ゲームを起動した後に一時停止を行い、Process Hacker でメモリ内の文字列を探索した結果、以下の通り正しい Flag 文字列を取得することができました。
公式の Writeup を参照したところ、lua スクリプトを改ざんして敗北条件を削除することで無敵状態でゲームを行い、Flag を取得できるようになるようです。
参考:Challenges2023Public/rev/spacegame/solve/solve.md メイン · DownUnderCTF/Challenges2023Public
まとめ
精進精進精進精進精進精進精進精進精進精進精進精進精進精進精進精進。
