This page has been machine-translated from the original page.
This time, I replaced the battery in my ThinkPad X280, which I have been using for about four years, so I am summarizing the process here.
The actual replacement process only involves disabling the internal battery, removing it, and installing the new one, and it takes about five minutes.
I will explain the details later in the article.
Table of Contents
The Battery Has Reached Its Limit
Before writing about how to replace the battery, I want to record what led me to replace it.
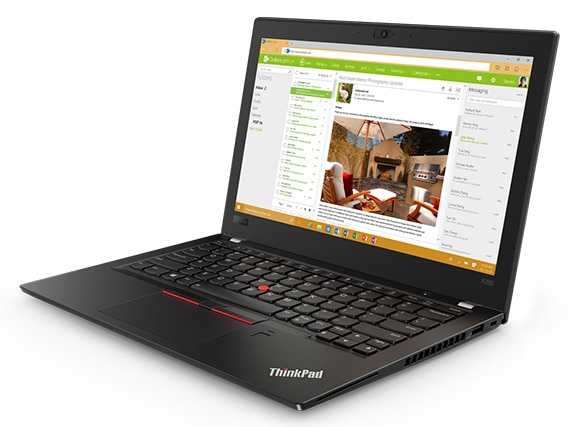
The X280 I currently use was purchased in a configuration with an Intel(R) Core(TM) i7-8550U CPU and RAM 16GB for about 100,000 yen, and I had used it for roughly four years as of January 8, 2022.
The durable chassis still had almost no scratches even though I carried it with me almost every time I went out, and the keyboard also remained in very clean condition, perhaps because I cleaned it regularly.
Because I had chosen the highest specification available at the time of purchase, it was still very much usable.
However, around the end of 2021, when I was working on the PC outside, the battery suddenly started dropping rapidly once it went below around 30%, and the machine would shut down in about 15 minutes.
As a result, it only ran for about two hours without being connected to power, which had become somewhat inconvenient.
In practice, when going out I had reached the point where I could not do without a charger with an output of 30W or more like the one below, or a 25W mobile battery (with 25W, the ThinkPad X280 can charge slowly).
Reference: Anker PowerPort III 2-Port 65W (USB PD charger, USB-C 2 ports)
Reference: Anker PowerCore 10000 PD Redux 25W (mobile battery, 10000mAh, large capacity)
Checking Battery Capacity in Windows
If you are using Windows, you can launch Command Prompt as an administrator and run powercfg/batteryreport to generate a battery report at C:/WINDOWS/system32/battery-report.html.
# Launch Command Prompt as administrator
powercfg/batteryreport
This report contains information such as the following.
Check Battery Information and Maximum Capacity
First, you can check the basic information.

If you want to check how much the battery has degraded, look at [DESIGN CAPACITY] and [FULL CHARGE CAPACITY].
[DESIGN CAPACITY] is the battery’s theoretical maximum capacity, and [FULL CHARGE CAPACITY] is the actual maximum capacity when it is charged.
Because the image above was taken after replacing the battery, the values of [DESIGN CAPACITY] and [FULL CHARGE CAPACITY] are the same. If the battery is degraded, the value of [FULL CHARGE CAPACITY] becomes smaller.
In fact, before replacement, the battery’s [FULL CHARGE CAPACITY] had dropped to around 30% of [DESIGN CAPACITY].
Recent Battery Usage
Next, you can check battery usage over the past three days.


The record for 1/6 is the log from before the battery replacement, and it shows that starting from an almost full charge at 14:29, the remaining charge suddenly dropped to 35% in about one hour and thirty minutes.
Battery Usage History
You can also check battery usage over a somewhat longer period.

[BATTERY DURATION] indicates how long the PC was running on battery power, and [AC DURATION] indicates how long it was running while connected to power.
Identify When the Battery Started to Degrade
Next, you can also check changes in battery capacity.

In the image above, you can see that [FULL CHARGE CAPACITY] dropped sharply around the end of 2021, when I started to notice the battery degradation.
I do not know the reason, but perhaps it was simply the end of its life.
Estimated Battery Life
Finally, the report outputs an estimate of battery runtime.

It estimated roughly 90 minutes to two hours, which matched my own experience.
Replacing the Battery
So, although I still do not know the reason, it became clear that the ThinkPad battery had degraded badly, so I replaced it.
Unfortunately, I could not get a genuine replacement battery, so I bought a compatible one on Amazon.
Reference: 【NOTEPARTS】Lenovo ThinkPad battery for A285/X280, compatible with 01AV470 / 01AV471 / 01AV472
The purchase price was 7,980 yen.
Honestly, I will not know about the quality until I use it, but it came with a one-year warranty from the purchase date and a PSE mark, so I figured it probably would not catch fire.
Battery Replacement Procedure
The battery replacement procedure for the ThinkPad X280 is very simple.
It took about five minutes in total.
At a high level, the procedure is as follows.
- Disable the internal battery
- Remove the bottom cover
- Remove the battery
- Install the battery
If you watch the official Lenovo video for each step, you will understand it perfectly.
Honestly, it is so simple that you will probably understand it even without watching the video.
Reference: Removal and replacement videos - ThinkPad X280 (20KE, 20KF) - Lenovo Support JP
Disabling the Internal Battery
First, disable the internal battery.
This is something you should always do when removing parts from a ThinkPad.
Even if you accidentally forget, it will not immediately cause a failure (speaking from experience), but make sure to disable it every time.
The procedure is simple: after starting the BIOS with the F1 key, go to [Config] > [Power] and select the option to disable the internal battery.
This will automatically turn off the PC and allow you to remove the parts.
For details, see the [Disable Built-in Battery] section of the video mentioned earlier.
Removing the Bottom Cover
I will omit the details.
Just remove the screws.
On some other ThinkPad models, you need a tool to release the clips when removing the bottom cover, but the X280 does not require any special tools and can be removed easily.
Removing the Battery
Remove the screws and lift the battery upward.
If you watch the [Removing the Built-in Battery] part of the video, you will understand it immediately.
After removing it, it looks like this.

Installing the Battery
Do the reverse of the removal process.
It fit a little more loosely than the genuine battery, which made me somewhat uneasy, but it did not seem to cause any problems.
Verification
Finally, turn the power on and check the battery status in the battery report, and you are done.
This gave my ThinkPad X280 a longer life.
Summary
I replaced the battery in the X280, which I had used for about four years, to extend its life.
It still looks like it will remain perfectly usable for a while.
(Lately I have been curious about the ThinkPad X1 Nano Gen2, though…)